One powerful tool for scheduling and organizing your tasks is Microsoft Excel.
Excel's flexibility and range of features make it an excellent choice for creating detailed and customizable schedules.
Why Use Excel for Scheduling?
Before diving into the how-to, let’s explore why Excel is a great choice for scheduling:
- Customizability: Excel allows you to tailor your schedule to fit your specific needs, from formatting to functionality.
- Visual Representation: With features like conditional formatting and charts, you can make your schedule visually appealing and easy to understand.
- Integration: Excel integrates seamlessly with other Microsoft Office applications and can import data from various sources.
- Flexibility: Whether you need a daily, weekly, or monthly schedule, Excel’s flexibility means you can adjust your schedule as needed.
How to Create an Excel Schedule
Step 1: Open a New Workbook
Start by launching Excel and opening a new workbook:
- Open Excel: Click on the Excel icon on your desktop or in your applications folder.
- New Workbook: Go to
File>New, then selectBlank Workbookto start with a fresh sheet.
Step 2: Set Up Your Layout
Determine the structure of your schedule based on what you need to track. Here’s a basic setup:
- Define Your Time Period: Decide if your schedule will be daily, weekly, or monthly.
- Daily Schedule: You might use columns for time slots and rows for tasks or activities.
- Weekly Schedule: Columns for days of the week and rows for tasks or time slots.
- Monthly Schedule: Use a grid with days of the month as columns and weeks as rows.
- Create Column Headers:
- For a daily schedule: Label columns with time slots (e.g., 9:00 AM, 10:00 AM).
- For a weekly schedule: Label columns with days of the week (e.g., Monday, Tuesday).
- For a monthly schedule: Label columns with dates (e.g., 1, 2, 3) and rows with weeks (e.g., Week 1, Week 2).
- For a daily schedule: Label columns with time slots (e.g., 9:00 AM, 10:00 AM).
- Add Row Labels:
- For a daily schedule: Label rows with task categories (e.g., Work, Personal, Meetings).
- For a weekly schedule: Label rows with task categories or time slots.
- For a monthly schedule: Rows can be labeled with weeks or specific tasks.
- For a daily schedule: Label rows with task categories (e.g., Work, Personal, Meetings).
Step 3: Input Your Data
Fill in your schedule with the relevant tasks, events, or activities:
- Enter Tasks: Click on a cell and type in the task or event for that time slot or day.
- Use Merged Cells: For tasks spanning multiple time slots or days, merge cells by selecting them, right-clicking, and choosing
Format Cells>Alignment>Merge Cells. - Color Coding: Use colors to differentiate between types of tasks or priorities. Select the cell, click on the paint bucket icon, and choose a color.
Step 4: Format Your Schedule
Make your schedule easy to read and visually appealing:
- Adjust Column Width and Row Height: Click and drag the edges of columns and rows to resize them according to your needs.
- Apply Borders: Use borders to define different sections of your schedule. Select the cells, go to
Home>Borders, and choose the border style. - Conditional Formatting: Highlight cells based on specific criteria (e.g., overdue tasks). Go to
Home>Conditional Formattingand set your rules.
Step 5: Automate with Formulas (Optional)
For advanced scheduling, you can use formulas to automate some aspects:
- Date and Time Functions: Use formulas like
=TODAY()to show the current date or=NOW()for the current date and time. - Conditional Alerts: Set up conditional formatting to alert you about upcoming deadlines or overdue tasks.
Step 6: Save and Share Your Schedule
Finally, save your work and consider sharing it with others:
- Save Your Workbook: Go to
File>Save As, choose your location, name your file, and clickSave. - Share with Others: You can share your schedule by sending the file via email or uploading it to a shared drive. For real-time collaboration, use Excel Online or OneDrive.
Convert PDFs to Excel Using Mac
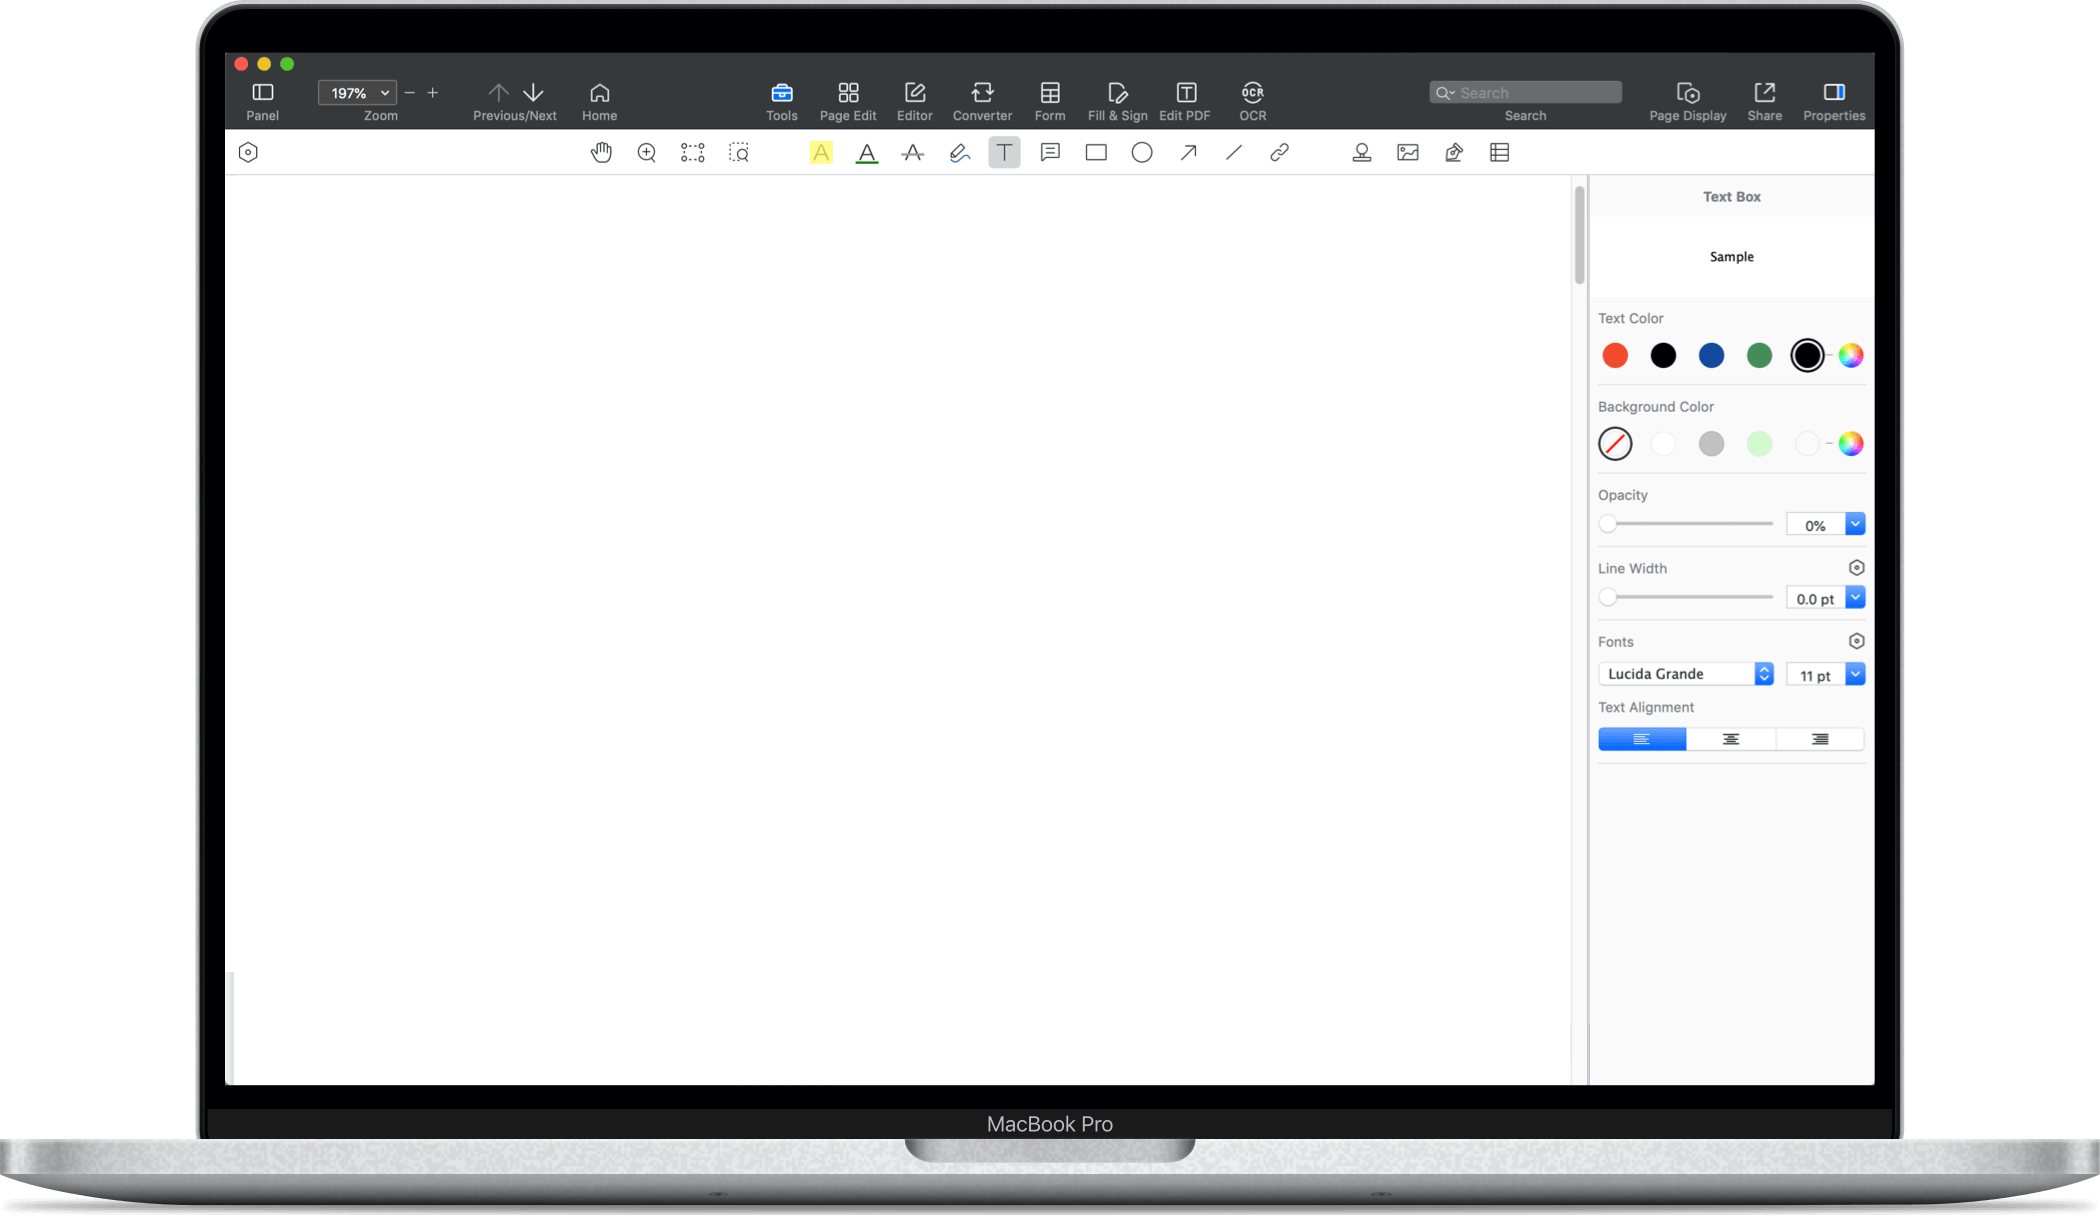
Our conversion software is also fully compatible and efficient for Mac operating systems.
Step 1: Open Your PDF Document
Open your PDF file in PDF Reader Pro's app interface by clicking Open File or dragging it into the drop zone on your desktop or mobile device.
Step 2: Select the File Button
Navigate to the 'Convert' option and, from the range of available output formats, choose 'Excel' from the drop-down list.

Step 3: Adjust your settings
You can convert the entire document as a complete table, or you can choose to convert specific tables individually.

Step 4: Click Convert
Store the converted file in the folder you've designated for this purpose.

Tips for Effective Scheduling
- Be Realistic: Avoid overloading your schedule. Allocate time for breaks and unexpected tasks.
- Review and Adjust: Regularly review and adjust your schedule as needed to stay on track.
- Use Templates: Consider using pre-made templates if you need a quick start. Excel offers various schedule templates you can customize.
By following these steps, you’ll be well on your way to creating an effective and organized schedule in Excel.


 Free Download
  Free Download


 Support Chat