
 Enterprises
 Partnership
 Industries
 FAQs
FAQs Company
Transforming physical documents into PDFs can sometimes be a challenging task, especially when dealing with crucial or confidential paperwork that requires safe digital storage. However, the process has been simplified and secured, thanks to the capabilities of your smartphone and the effectiveness of select apps.
Now, you can swiftly turn those physical papers into digital files. This tutorial is designed to navigate you through the process of scanning documents on devices with iOS 16+ and Android 13+. It highlights the utilization of inherent functionalities and third-party apps that morph your device's camera into a sophisticated scanning tool.


How to Scan a Document on iPhone
With the advent of the new iOS, Apple introduced a convenient scanning function within the Notes app, streamlining digitalizing your documents directly from your device. Below is a step-by-step guide on how to leverage this feature.
 Free Download
  Free Download
Step 1: Initiate the Notes Application and Establish a New Note

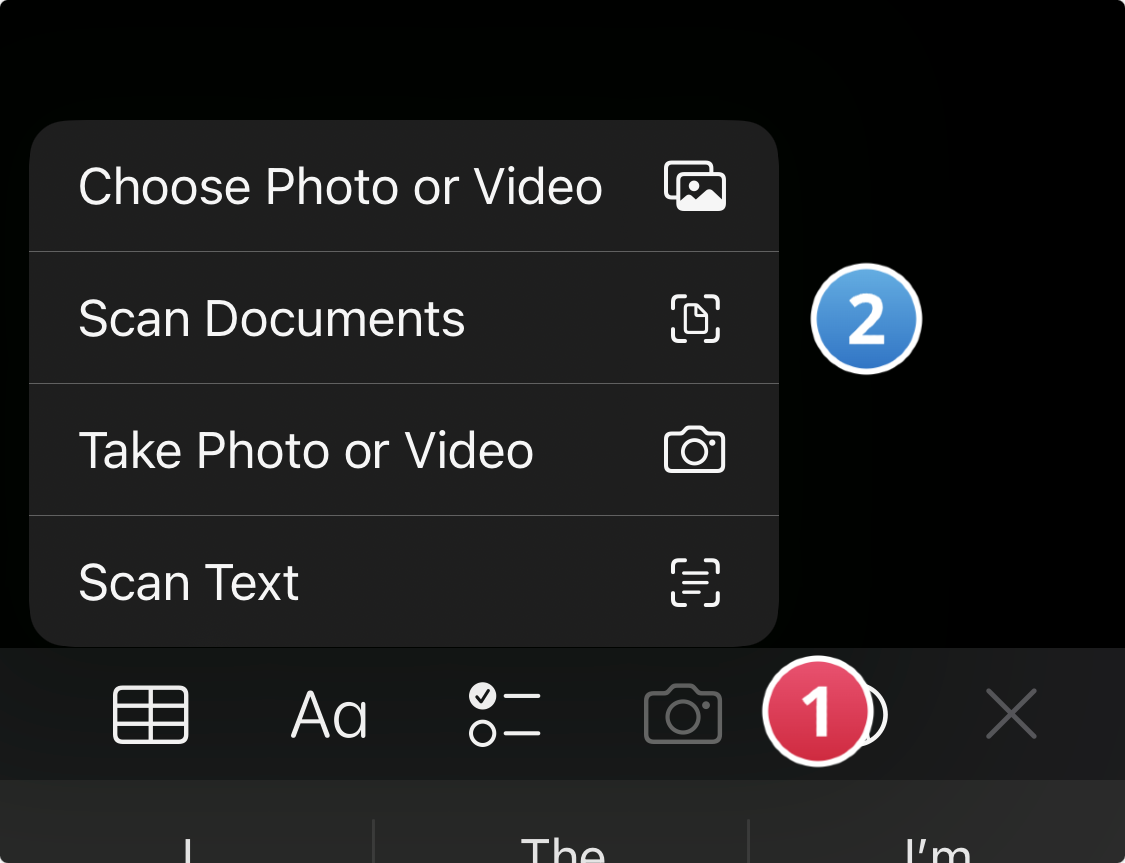
Step 2: Hit the Camera Symbol and Choose 'Scan Documents'
Step 3: Align Your Phone Camera with the Document
Place your phone camera over the document. Notes will auto-focus and capture the image for you, though you can take the picture yourself by pressing the shutter button.
Step 4: Post-Scan Adjustments and Saving
Once you've scanned a page, adjust the edges by dragging the handles to crop your scan as needed. To proceed, tap 'Done.'

Step 5: Continue Scanning Additional Pages and Finalize
Repeat the scanning procedure for each page you wish to include. After scanning all desired pages, finalize the process by selecting 'Save.'

Learn how to sign PDFs on both iPhone and Android with our straightforward guide, making document approval quick and easy from any device.
How to Scan a Document on Android
You require the Google Drive app to carry out document scanning on an Android device. Typically, this application is a standard pre-installed feature on Android smartphones.
Step 1: Launch Google Drive and Select the '+' Icon
Initiate the process by opening the Google Drive app and then tapping the '+' symbol, typically found at the bottom right of the screen.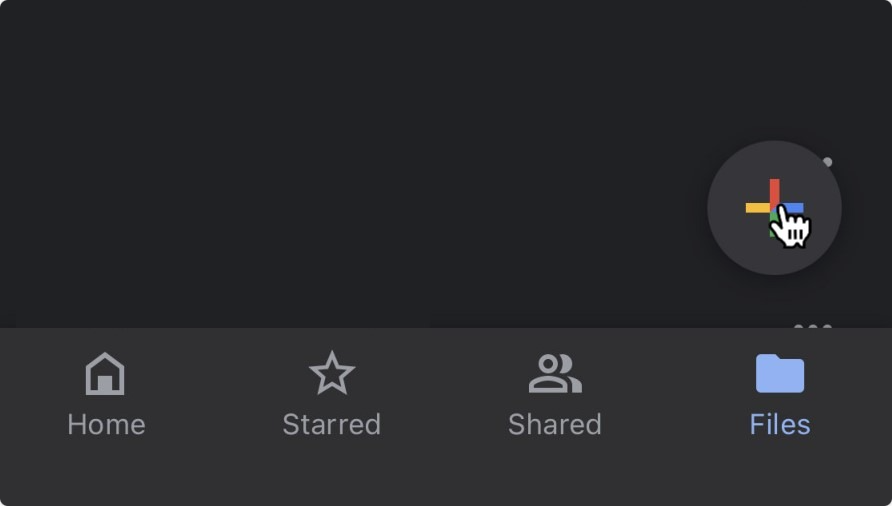
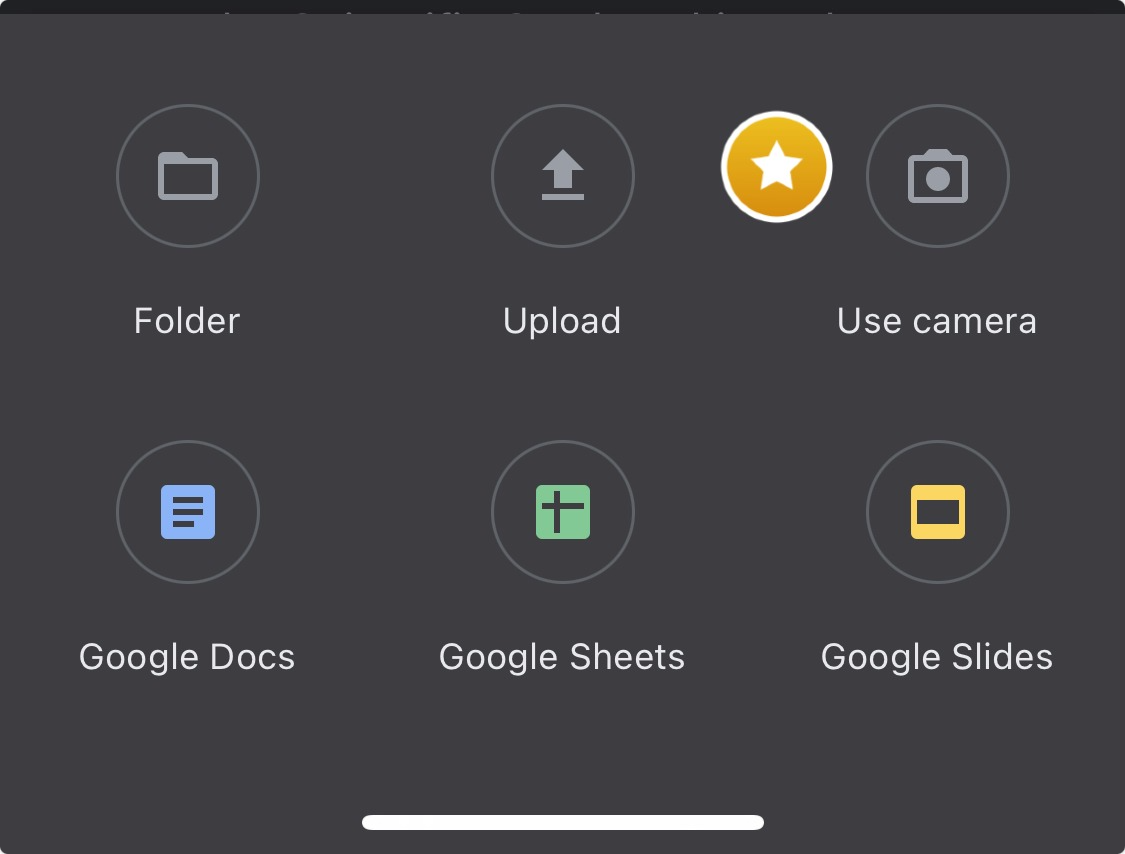
Step 2: Under the Create New tab, select Scan
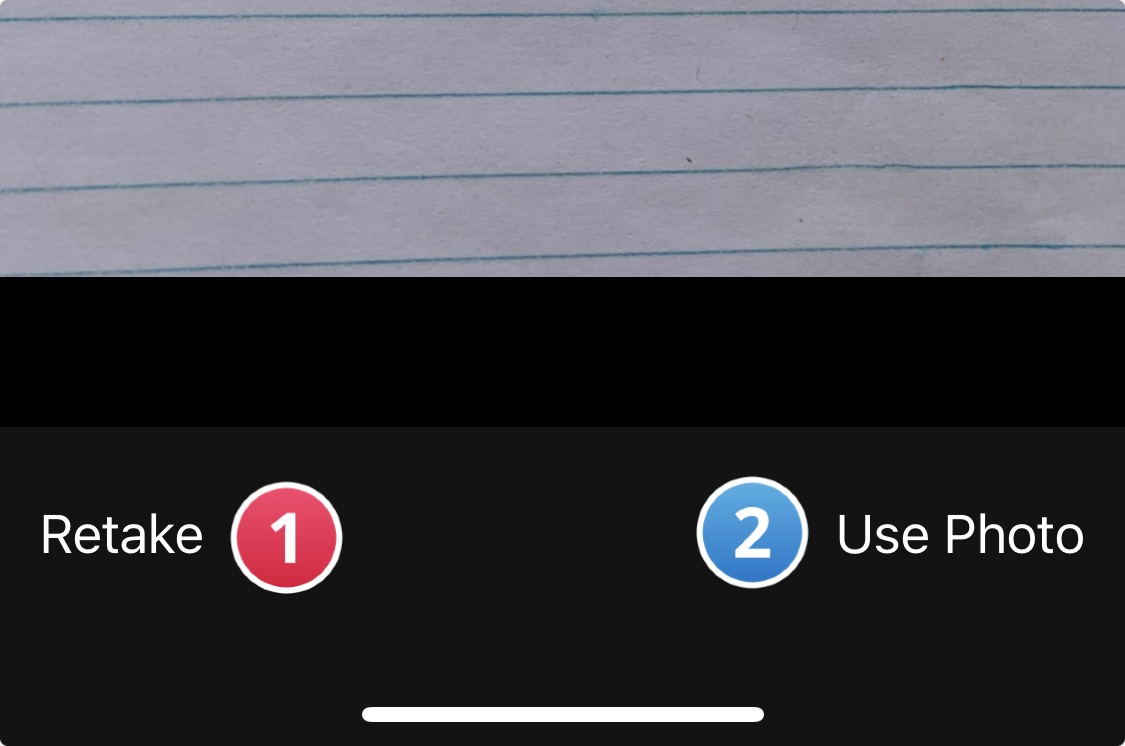
Step 3: Position the phone camera over the document and tap the Shutter button when you're ready to capture the image
Step 4: Tap "Retake" if you are unsatisfied with your image or tap "Use Photo" if you are satisfied
Step 5: Tap the + symbol to scan more images, or Save to finish and upload your document to Google Drive.
There are also options to crop, scan, or rotate the scan, or adjust its color
Step 6: When you finish scanning your documents, enter a file name for your new PDF and choose a folder to save it in. Then, select Save.
Learn how to create a PDF on your iPhone with our straightforward guide, turning any document or image into a PDF effortlessly.
How to Scan Documents with PDF Reader Pro
PDF Reader Pro is positioned as an easy and fast way to create high-quality scans on iPhone, iPad and Android devices. It's easy to navigate and use without much of a learning curve. Here's the guide to scan documents to PDF with PDF Reader Pro.
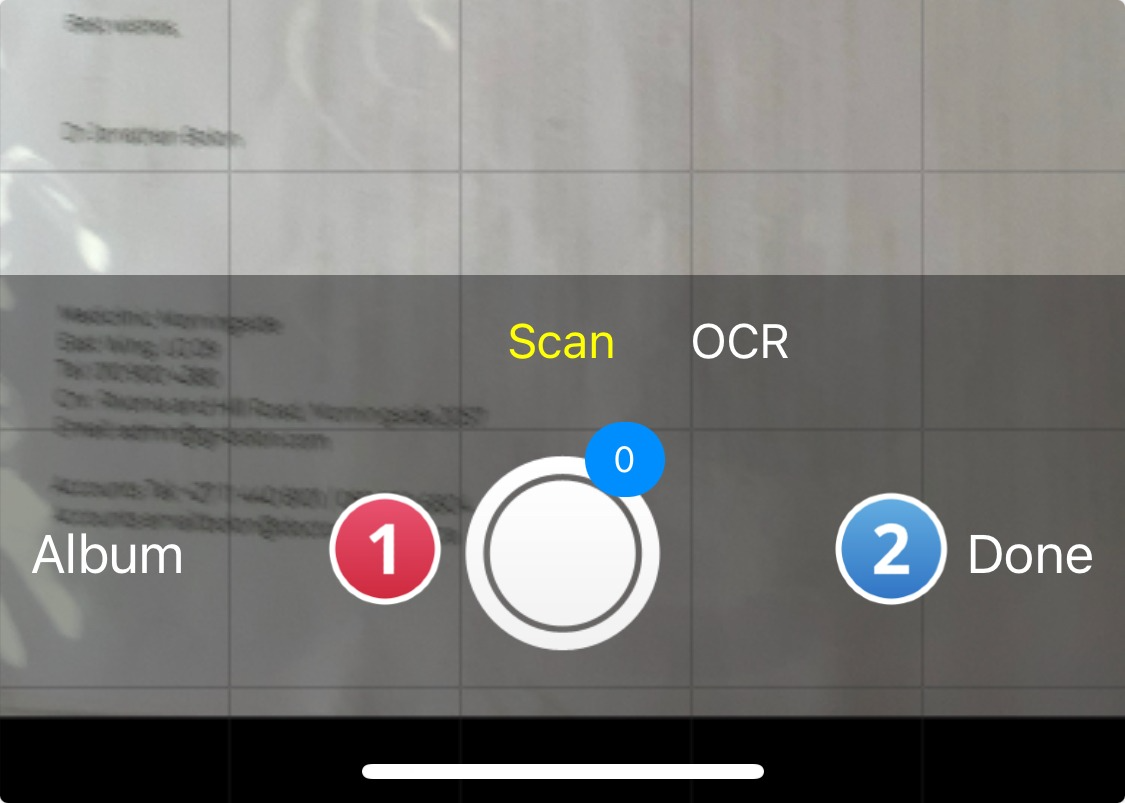
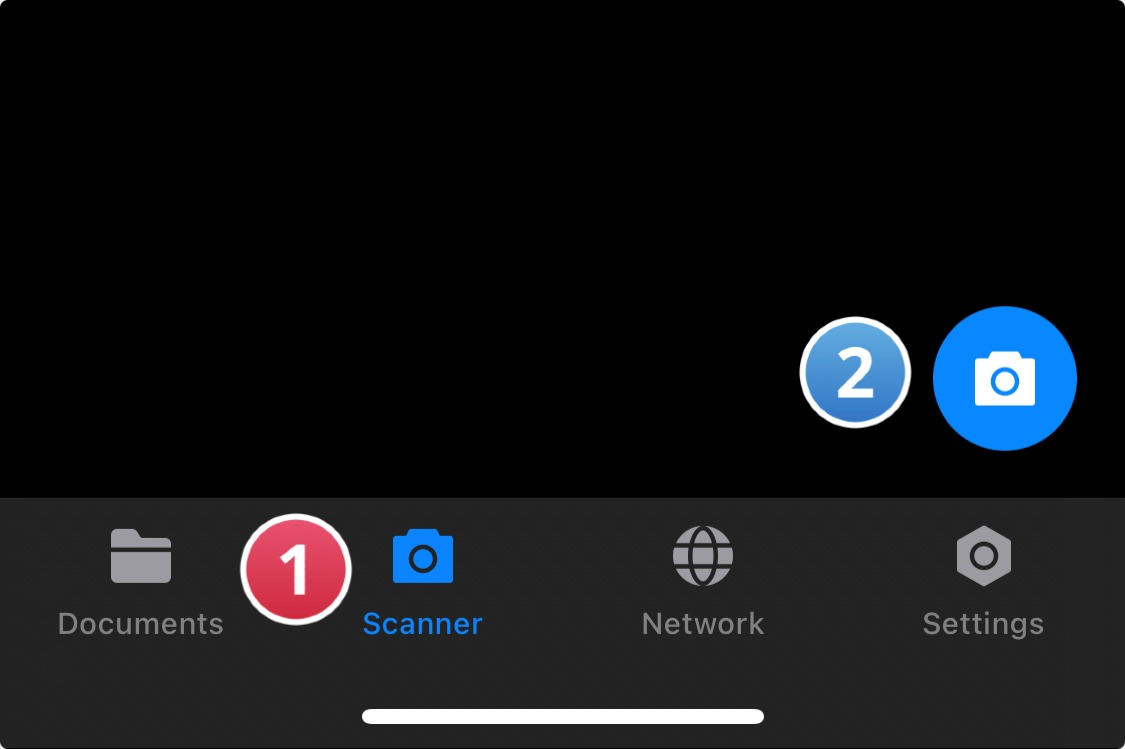
Step 1: Select "Scanner" and press the " " icon
Step 2: Position the phone camera over the document and tap the Shutter button when you're ready to capture the image
Tap "Done" when you are satisfied with your photograph. 
Step 3: Tap  and select "Export as PDF" or "Store as PDF"
You can also edit your image by cropping or rotating the image. 
Step 4: If you're satisfied, tap "Done", then tap
Discover how to scan documents into PDFs on your iPhone with our easy-to-follow guide, turning your phone into a powerful scanning tool.
How to Scan a Document: Best Practices
In the digital era, converting physical documents into digital formats is a common necessity. Whether you're dealing with a handwritten note, a piece of paper, or an entire document, knowing how to use a document scanner app effectively is key.

Below, we delve into best practices for scanning documents, ensuring clarity and preservation of important content:
-
Preparation is Key:
- Before you begin, clear a flat surface to place your paper documents. This prevents shadows and skewed angles, ensuring the entire document is captured clearly.
- Determine the document type you're dealing with (e.g., a high-quality PDF file, a digital file, or a physical document). This helps set the appropriate scanning settings.
-
Using Your Mobile Device:
- Avoid the struggle with a clunky scanner by opting for a mobile scanner app on your Android device or iPhone. Apps like PDF Reader Pro simplify the process, turning your device into a sophisticated scanner.
- Initiate the scan by tapping the 'Choose Scan Documents' option, often found in the bottom-right corner or the top-right corner of the app interface.
- Use the shutter button or your device’s volume buttons to capture the image. Ensure your hands are steady for a clear shot.
-
Optimizing the Scan:
- After capturing, use the available markup tools to highlight or underline important sections. If you're using an iPad, tools like the Apple Pencil can enhance precision.
- If you need additional scans, place the next document on the flat surface and repeat the process. The app should allow you to add multiple scans to one file.
- Review your scans. Ensure the entire document is visible and legible, making any necessary adjustments.
-
Saving and Sharing Scanned Documents:
- Once satisfied with your scans, it’s time to save. Tap the 'Share' button or 'Share Icon,' which usually resembles a paper icon. You might find this in the bottom-left corner or elsewhere on your screen.
- Save your document to your preferred destination. Options might include the Files app, cloud storage platforms like Google Drive, or sending the document via email. Consider using features like Optical Character Recognition (OCR) for added searchability within your digital file.
- If you’re dealing with sensitive information, ensure you’re sharing or storing your documents securely to protect any confidential content.
By integrating these practices into your routine, the process of transforming documents into PDFs or other digital formats becomes a quick, efficient, and hassle-free experience. Remember, the goal is to produce a legible, high-quality file that accurately represents the original document, free from the common pitfalls of scanning documents.
Explore our guide to find out where PDF files are stored on your phone.
How to Scan a Document: FAQ
How can I ensure clean documents when scanning?
To achieve clean, clear scanned documents, start by preparing the physical papers. Remove any staples or clips and smooth out wrinkles. Clean the surface of your handy document scanner to avoid specks of dust or other particles. Use the crop tool or editing tools to adjust document margins and ensure the entire document is visible and free from unnecessary backgrounds.
What steps should I follow to get a document ready for scanning?
Ensure your document is flat and free of folds or creases. If scanning stacks of paper documents, organize them in order, and remove any bindings. Select the appropriate document size in your scanning app, and if you're scanning a legal document or sensitive documents, check for a specialized document solution or document workflow solution that offers additional security features.
Can I directly scan a document into Notes, and how do I move a document from Notes?
Yes, you can scan directly into the Notes app. Use the 'SelectScan Documents' function found typically near the 'Note Icon' in your app. After scanning, to move your document to Files or send via email, press the 'Share' or 'Mail Icon' and choose your desired location. If you're dealing with PDF documents, you may also use online PDF tools for additional actions like compression.
How do I sign documents in the Notes app?
For signing documents, use the built-in markup tools in the Notes app. Tap the 'Sign Icon' (often resembling a paper-and-pen icon), and you'll be able to add your signature to the document. This function is especially useful for legal documents or any other documents requiring a signature.
What tools are available for adjusting scanned documents?
Your scanning app likely includes a suite of default photo editing tools. Use the crop tool to adjust the edges, the rotation icon for orientation, and the trash icon to discard unnecessary scans. For advanced editing, online tools or third-party apps offer plenty of tools, including online PDF compression tools and more sophisticated editing options.
How do I handle multiple-page documents?
If you're scanning a normal document with several pages, your app should allow you to continue adding scans to a single file. Look for a 'plus' or 'additional scans' option, usually represented by a square icon or similar. After you're done, you can use the 'tick mark icon' to save the entire document as one file.
Incorporating these practices and utilizing these tools effectively will streamline the process of digitizing your documents, ensuring that the content is clear, organized, and ready for whatever application you require.


 Support Chat